If you’re looking to delve into the world of 3D printing gears, this guide is designed to provide you with essential information, tips, and techniques to help you create your very own gear components.
What Are 3D Printed Gears?
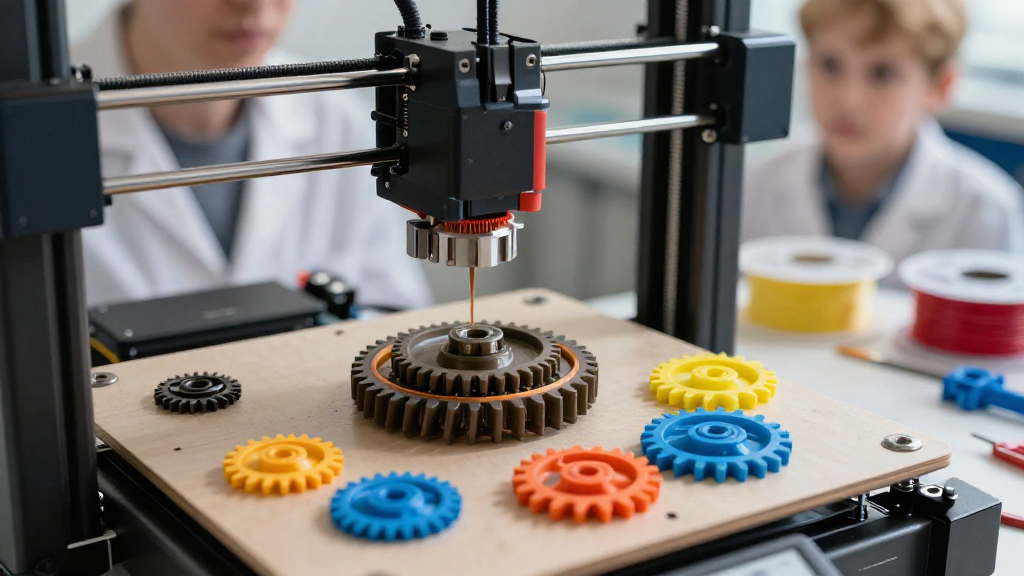
3D printing gears refers to the process of using additive manufacturing technology to produce mechanical gears.
These components are crucial in various applications such as:
- Robotics
- Automotive
- Aerospace
- Consumer Electronics
By leveraging 3D printing for gears, hobbyists and professionals alike can customize their designs, reduce production costs, and create complex geometries that would be impossible using traditional manufacturing methods.
Why Use a 3D Printing Gears Guide?
The need for a comprehensive 3D printing gears guide arises from the challenges faced in the design and manufacturing process.
Here are some reasons why a guide is beneficial:
-
Understanding Gear Design Principles
Gears operate based on specific design parameters, including pitch, tooth profile, and pressure angle.
Knowing these principles helps ensure optimal functionality. -
Material Selection
There are various materials suitable for 3D printing gears, ranging from PLA to nylon and even metal filaments.
Understanding which material to use can greatly affect the durability and performance of your gears. -
Printer Settings and Calibration
Correctly calibrating your 3D printer is essential for achieving high-quality results.
This includes settings like print speed, temperature, and layer height. -
Advanced Printing Techniques
Techniques such as infill patterns and support generation can optimize strength and reduce print failures.
A detailed guide can provide insights into these techniques.
How to Design Gears for 3D Printing?
Designing gears for 3D printing requires both creativity and technical knowledge.
Here are steps to consider:
-
Choose the Right Software
Utilize software designed for mechanical design such as:
– Fusion 360
– SolidWorks
– Fusion 360
These tools often have gear generators that can simplify this process. -
Define Gear Specifications
Determine key specifications:
– Number of Teeth: Affects gear ratio and torque.
– Diameter: Critical for fitting within your assembly.
– Type of Gear: Choose between spur, helical, bevel, etc. -
Use Accurate Parameters
Implement standard parameters like pressure angle (20° is common) and module size to ensure your gear interacts correctly with adjacent components. -
Export Your Design
When finished, export your design to a suitable file format such as STL, which is compatible with most slicers.
Which Materials Are Best for 3D Printing Gears?
Selecting the right material can make a significant difference in the durability and functionality of your printed gears.
Here’s a breakdown of popular materials:
- PLA (Polylactic Acid)
- Pros: Easy to print, great for prototypes.
-
Cons: Not very durable, can warp under heat.
-
ABS (Acrylonitrile Butadiene Styrene)
- Pros: Tougher than PLA, great for functional parts.
-
Cons: Requires proper ventilation due to fumes.
-
Nylon
- Pros: Excellent strength, flexibility, and wear resistance.
-
Cons: Difficult to print, may require a heated bed.
-
PETG (Polyethylene Terephthalate Glycol)
- Pros: Strong and flexible, resistant to impacts.
-
Cons: Can be harder to print than PLA and ABS.
-
Metal Filaments (like stainless steel or brass)
- Pros: Durable and can create heavy-duty gears.
- Cons: Requires special printers and settings.
What Are the Best 3D Printing Settings for Gears?
To achieve the best efficiency and strength from your gears, pay attention to these essential settings:
-
Layer Height
– A layer height between 0.1 mm to 0.2 mm is often ideal for high-quality gear prints. -
Infill Percentage
– Aim for a minimum of 50% infill for strength; increase based on the load requirements. -
Print Speed
– Slower speeds (around 40-60 mm/s) can result in better detail, especially for intricate designs. -
Nozzle Temperature
– Adjust based on material:- PLA: 190-220 °C
- ABS: 220-250 °C
-
Cooling Fan
– Utilizing a cooling fan helps improve layer adhesion for materials like PLA.
How to Assemble and Test Your 3D Printed Gears?
Once printed, assembling your gears requires precision. Here’s how to proceed:
-
Quality Check
Inspect each gear for defects such as warping or stringing. -
Post-Processing
– Sanding can smooth out teeth.
– Heat treatment for metals enhances strength. -
Assemble Gears
Ensure precise alignment to prevent gear slippage. -
Testing Load Capacity
Test your assemblies under realistic conditions to determine their performance and durability.
What Are Common Issues When 3D Printing Gears?
Even with the best preparations, you may encounter challenges. Here are some common issues and their solutions:
- Warping
-
Solution: Use a heated bed to maintain consistent temperatures.
-
Layer Separation
-
Solution: Adjust print temperature or ensure proper adhesion to the build plate.
-
Incorrect Tooth Profile
- Solution: Double-check design parameters and ensure accurate settings.
Conclusion
Creating gears through 3D printing is an exciting venture that demands careful consideration of design, materials, settings, and assembly.
With this 3D printing gears guide, you now have the foundational knowledge necessary to get started.
Remember to take your time with the design, test multiple iterations, and consult additional resources when needed.
Happy printing!