When it comes to maintaining the efficiency and longevity of machinery, the gear wear inspection chart is an essential tool.
Understanding how to use this vital resource can help you identify potential issues before they become significant problems.
What is a Gear Wear Inspection Chart?
A gear wear inspection chart is a diagnostic tool that allows technicians and engineers to evaluate the condition of gears within machinery.
It provides a systematic method to assess wear patterns, ensuring that maintenance can be performed effectively.
By using the chart, users can pinpoint areas that need attention, thereby preventing costly downtime and ensuring smooth operation.
Why is a Gear Wear Inspection Important?
Regular inspections with a gear wear inspection chart can lead to numerous benefits:
-
Early Detection of Problems: Identifying wear early can help prevent failures.
-
Reduced Downtime: Addressing issues before they escalate minimizes unscheduled maintenance.
-
Cost Savings: Preventive maintenance is typically less expensive than emergency repairs.
-
Extended Equipment Life: Regular inspections contribute to improved longevity of machinery.
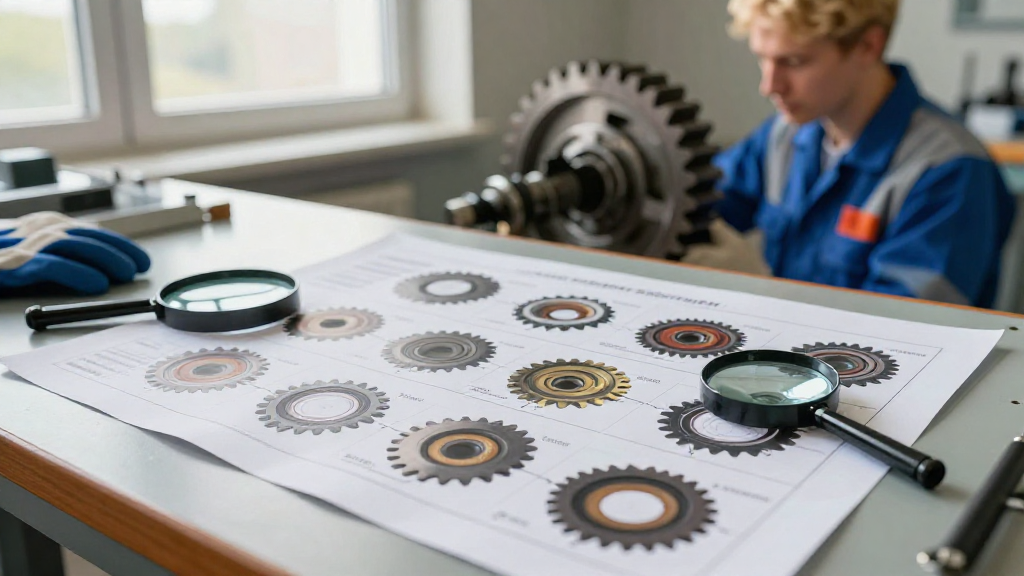
How to Read a Gear Wear Inspection Chart?
Understanding how to interpret a gear wear inspection chart is crucial for effective maintenance.
Here’s a breakdown of what you should look for:
-
Graphical Sections: The chart often includes various visual sections indicating different wear levels.
-
Color Codes: Look for color codes that denote severity (e.g., green for acceptable wear, yellow for caution, and red for critical levels).
-
Legend: Make sure to refer to the legend, which explains symbols and definitions for wear types.
-
Gear Ratings: Gears may be rated (e.g., A, B, C) based on their wear condition.
-
Photographs: Many charts include photographs or diagrams demonstrating various wear patterns.
What Are the Common Types of Gear Wear?
When using the gear wear inspection chart, it’s essential to familiarize yourself with the types of wear you may encounter:
-
Pitting: Small craters develop on the surface, indicating fatigue.
-
Scuffing: Abrasive wear that occurs when lubrication fails.
-
Spalling: Loss of material due to fatigue, often leading to cracks.
-
Corrosion: Chemical reactions that deteriorate gear material.
-
Tooth Wear: Gradual loss of material from the gear teeth due to normal operation.
When Should You Conduct a Gear Wear Inspection?
Regular inspections are key to utilizing the gear wear inspection chart effectively.
Here are some recommended intervals:
-
After Initial Run-In: Inspect your gears after the initial operating period to catch early wear.
-
Quarterly Inspections: Performing inspections every three months ensures continuous monitoring.
-
Post-Maintenance: Always inspect after significant maintenance or repairs.
-
Before Major Operational Changes: Assess gears before increasing loads or speeds.
How to Perform a Gear Wear Inspection?
Performing a gear wear inspection requires a systematic approach.
Here’s a step-by-step guide:
-
Gather Necessary Tools: Ensure you have a gear wear inspection chart, calipers, magnifying glass, and appropriate PPE (Personal Protective Equipment).
-
Shutdown Machinery: Always turn off machinery before inspection to ensure safety.
-
Visual Inspection: Use the gear wear inspection chart to visually compare the gear against typical wear patterns.
-
Measure Wear: Utilize calipers to determine any deviations in tooth thickness and spacing.
-
Document Findings: Record your observations using the chart for future reference.
-
Determine Next Steps: Assess whether repairs or replacements are necessary based on your findings.
What Should You Do If You Find Excessive Wear?
If an inspection using the gear wear inspection chart reveals excessive wear, it’s crucial to respond appropriately:
-
Stop Operation: Cease machinery operation to prevent further damage.
-
Analyze the Cause: Investigate factors contributing to excess wear, such as misalignment or inadequate lubrication.
-
Schedule Repairs: Prepare for necessary repairs or replacements as indicated by your inspection.
-
Revise Maintenance Procedures: Adjust your routine maintenance schedule if needed, based on the findings.
Can Technology Help in Gear Wear Inspections?
Absolutely! Technology has advanced significantly in gear inspection methodologies.
Here are some ways technology can enhance your inspections:
-
Ultrasonic Testing: Detects subsurface flaws that may not be visible.
-
Thermography: Identifies overheating issues, indicating potential wear or lubrication failure.
-
Vibration Analysis: Monitors vibrations that can signal mounting or gear issues.
-
Digital Inspection Tools: Many digital solutions offer automated wear assessment against predefined metrics.
Conclusion: Regular Gear Wear Inspections for Optimal Performance
Utilizing a gear wear inspection chart is an invaluable practice for maintaining machinery.
By understanding when and how to conduct inspections, as well as interpreting the findings, you can increase the reliability and efficiency of your equipment.
Embrace the use of this chart along with technological innovations to ensure a proactive approach to gear maintenance.
In the end, regular gear wear inspections can save time, money, and headaches down the line.
Remember, ensuring the health of your gears is an investment in the future of your operations!