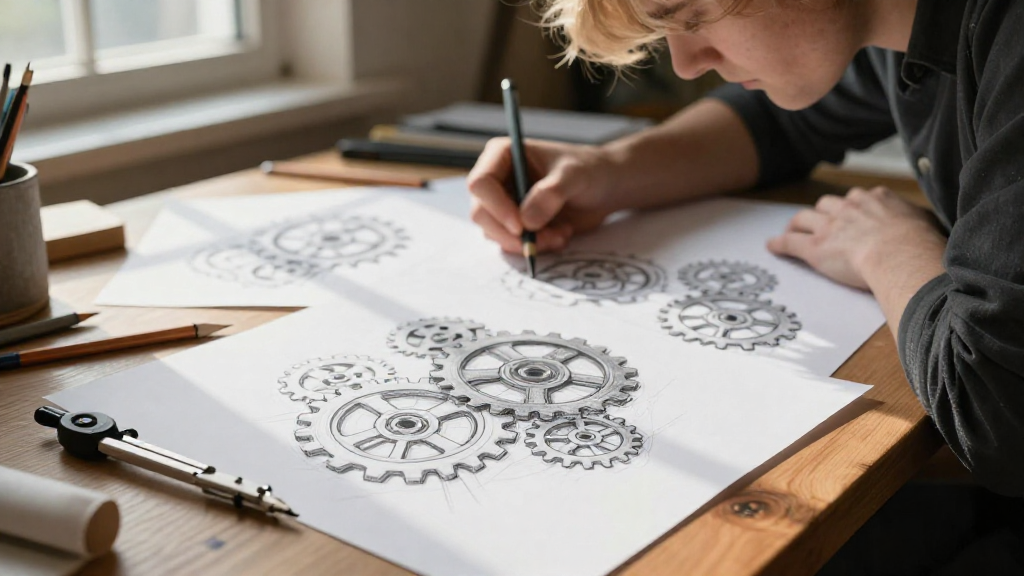
Learning how to draw gears by hand can be a rewarding experience for artists, engineers, and hobbyists alike.
In this guide, we will explore the techniques and tips you need to effectively sketch gears. Whether you’re designing machinery, creating illustrations, or just enjoying a fun drawing activity, mastering gear drawing can elevate your skills.
Why Are Gears Important in Design?
Before diving into the specifics of how to draw gears by hand, let’s understand why gears are essential:
-
Mechanical Efficiency: Gears facilitate the transfer of motion and power in machines.
-
Artistic Appeal: Gears add an industrial aesthetic to various art forms, making them popular in steampunk and mechanical illustrations.
-
Functional Design: In various fields, gears are critical components that influence the performance of devices.
Understanding their importance can inspire and motivate you as you learn how to draw gears by hand.
What Tools Do You Need to Draw Gears?
Gathering the right materials is the first step in the drawing process. Here’s a list of tools you’ll need:
-
Pencil: Preferably a hard pencil for light sketching and a softer one for shading.
-
Eraser: A high-quality eraser that won’t smudge your work.
-
Ruler/Compass: For creating precise straight lines and circles.
-
Protractor: To measure angles accurately.
-
Paper: Choose smooth, heavyweight drawing paper for the best results.
With these tools ready, you’re set to learn how to draw gears by hand.
How Do You Start Drawing Gears?
Step 1: Sketch the Circle
Begin your drawing by sketching a circle that will represent the outline of your gear.
- Use a compass to get an even circle.
- Ensure the size is suitable for your project.
Step 2: Divide the Circle into Equal Segments
To create the teeth of the gear, you need to divide the circle into equal segments.
-
Use a protractor to mark angles that correspond to the number of teeth you want your gear to have (e.g., 12, 16, 20).
-
Draw light lines from the center to the edge of the circle, creating your segments.
Step 3: Create Gear Teeth
Once your circles are divided, it’s time to draw the teeth.
-
For each segment, sketch a triangle extending out from the circle’s edge.
-
Make sure each tooth is uniform in shape and size for the gear to function visually.
Step 4: Refine Your Drawing
With the basic shape outlined, you can now refine your gear drawing.
-
Erase the guidelines that you no longer need.
-
Darken the outer circle and teeth lines to enhance visibility.
-
Add additional details, like inner circles or bolt holes, based on your design preferences.
Step 5: Shading and Detailing
To add depth and realism to your gear, incorporate shading.
-
Choose a light source to define where shadows will fall.
-
Use your softer pencil to shade areas opposite your light source.
-
Adding texture can also enhance realism, so consider a crosshatch technique for more intricate designs.
How Can You Enhance Your Gear Drawings?
Adding Additional Elements
Incorporating other mechanical components can complement your gear drawings. Here are a few elements to consider:
-
Shafts: Draw lines to indicate where the gear connects to a shaft.
-
Bearings: Add detail to the center of the gear to represent bearings.
-
Other Gears: To portray a system, consider drawing multiple gears interacting with one another.
Experimenting with Styles
Different artistic styles can alter the appearance of your gears significantly. Consider trying:
-
Realistic shading: Bring out dimension by adding shadows and highlights.
-
Steampunk aesthetics: Use intricate line work and mixing metal textures to achieve a unique look.
-
Abstract designs: Break traditional rules and create innovative and free-form gear designs.
Where Can You Find Inspiration for Gear Designs?
If you’re wondering where to find inspiration for enhancing your gear drawings, here are some ideas:
-
Mechanical Drawings and Diagrams: Study schematics from engineering manuals.
-
Art Communities: Websites like DeviantArt and Pinterest feature artists showcasing their gear designs.
-
Nature and Architecture: Observe natural forms and structural components that mimic gear shapes.
-
Film and Literature: Sci-fi and steampunk genres often incorporate gears as key design elements.
Inspiration is everywhere; don’t be afraid to explore and experiment as you learn how to draw gears by hand.
What Common Mistakes Should You Avoid?
While learning how to draw gears by hand, it’s essential to steer clear of common errors that artists make:
-
Inconsistent Teeth Sizes: Strive for uniformity in gear teeth; variation can disrupt the visual flow.
-
Neglecting Proportions: Keep an eye on the dimensions of your gears. Gears that are disproportionate will look unrealistic.
-
Overcomplicating Designs: Start simple. As you become more comfortable, gradually incorporate complexity.
-
Poor Shading Techniques: Inconsistent shading or lack of depth can diminish the overall effect. Spend time practicing your shading skills.
How Do You Practice Drawing Gears?
Practicing is crucial to mastering how to draw gears by hand. Here are some tips on effective practice:
-
Daily Sketching: Dedicate time each day to sketch gears. Start with different sizes and complexities.
-
Tracing Techniques: Use gear drawings as reference and practice tracing them to understand the shapes better.
-
Participate in Challenges: Join art challenges or communities that focus on mechanical drawings.
As you practice, be patient with yourself. Improvement takes time and consistent effort.
Conclusion: Mastering How to Draw Gears by Hand
In summary, learning how to draw gears by hand involves understanding the basic structure of gears, gathering the right tools, and practicing regularly.
Through proper sketching techniques, refining your drawings, and incorporating additional elements, you can create stunning gear illustrations.
Remember to seek inspiration, avoid common pitfalls, and practice consistently to improve your skills.
Now, grab your pencils and start drawing—your gears will turn beautifully in no time!