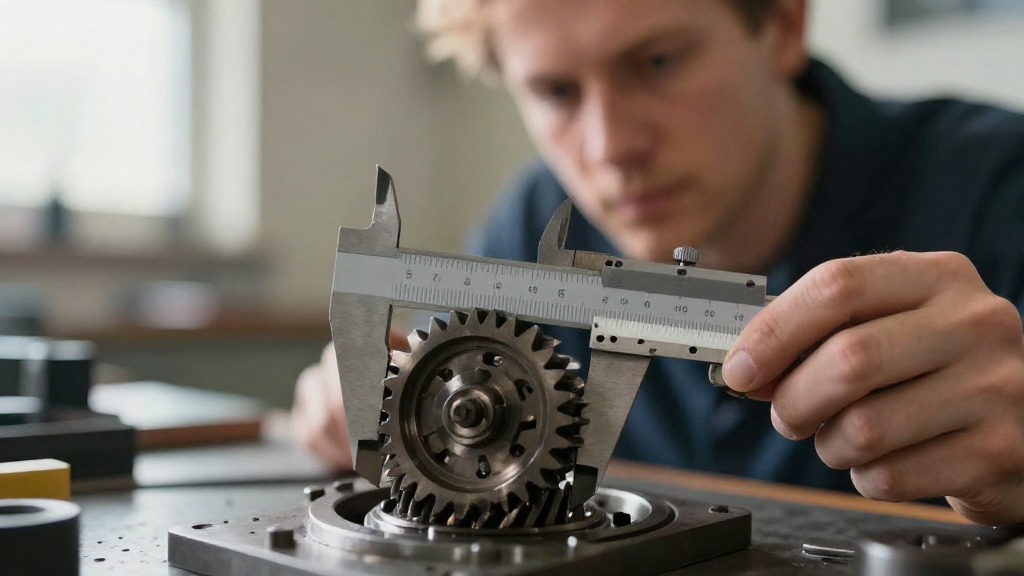
Understanding gear backlash measurement is essential for ensuring precision in mechanical systems.
In this article, we will explore what gear backlash is, how to measure it accurately, and why it’s critical for the overall performance of machinery.
What is Gear Backlash?
Backlash refers to the amount of play or slack between the engaging gears in a mechanical system.
When you turn one gear, there may be a slight delay before the adjacent gear starts moving due to this gap.
Why is Gear Backlash Important?
Proper gear backlash measurement plays a vital role in various applications:
- Precision: Minimizing backlash improves overall precision in machinery.
- Longevity: Proper measurement can help in the long-term performance of gears.
- Efficiency: Ensures gears operate smoothly, which reduces energy consumption.
- Noise Reduction: Appropriate backlash helps in decreasing mechanical noise.
How is Gear Backlash Measured?
There are several methods to accurately assess gear backlash measurement. Here, we will examine the most common techniques.
1. Using a Dial Indicator
- What is a Dial Indicator?
A dial indicator is a precision instrument used to measure small distances and can be used to measure backlash effectively.
- Steps to Measure Gear Backlash with a Dial Indicator:
- Setup: Secure the dial indicator so that the probe touches the gear tooth.
- Move the Input Gear: Rotate the driving gear in one direction until contacting the driven gear.
- Read the Measurement: Rotate the driving gear in the opposite direction until you observe the probe move. The reading on the dial indicates the backlash.
2. By Hand Feeler Gauge
- What is a Feeler Gauge?
A feeler gauge is a tool that can measure gaps or clearances between parts.
- Steps to Measure Gear Backlash with a Hand Feeler Gauge:
- Insertion: Place the feeler gauge between the two gears at the point of engagement.
- Movement: Manually move the driving gear to observe the gap.
- Read the Gap: The thickness that fits snugly into the gap represents the backlash measurement.
3. Method of Visual Inspection
- Is Visual Inspection Reliable?
While visual inspection may not provide precise measurements, it can still indicate potential issues.
-
What to Look For:
-
Gap Size: Visually inspect the gap between gear teeth.
- Wear Patterns: Observe abnormal wear on teeth that may result from excess backlash.
- Misalignment: Check for alignment issues that could exacerbate backlash.
What Factors Affect Gear Backlash?
Understanding the factors that affect gear backlash measurement helps in optimizing the process.
1. Gear Quality
Higher quality gears tend to have better tolerances, which can lead to reduced backlash.
- Material: Different materials can also affect hardness and wear characteristics.
- Manufacturing Process: Precision machining will yield more accurate alignments.
2. Gearing Arrangement
The configuration of gears can significantly influence backlash.
- Type of Gears: Helical gears may have different backlash characteristics compared to spur gears.
- Positioning: Improperly aligned gears can lead to increased backlash.
3. Environmental Conditions
Temperature and lubrication play crucial roles in gear setup.
- Temperature Fluctuations: Expansion and contraction can alter gear fit and increase backlash.
- Lubrication: Adequate lubrication decreases friction but also affects how closely gears mesh.
How to Minimize Gear Backlash?
Once you’ve performed your gear backlash measurement, you may want to reduce it for optimal performance.
1. Adjust Gear Alignment
Improper alignment is a common cause of excess backlash.
- Regularly check and adjust the positioning of gears.
- Utilize precision tools to ensure gears are properly aligned.
2. Replace Worn Gears
Worn gears contribute to excessive backlash.
- Inspect gears frequently and replace them if you notice significant wear.
- Choose high-quality replacement gears that are compatible.
3. Use Adjusting Mechanisms
Some gear setups offer adjusting mechanisms that can help fine-tune the fit.
- Look for adjustable mounts or eccentric spacers.
- Utilize tensioning systems designed to eliminate slack.
4. Select Gear Type Wisely
Different gear designs come with inherent characteristics regarding backlash.
- Helical vs. Spur: Helical gears generally have less backlash than spur gears.
- Undercut Options: Look for gear designs that minimize noise and backlash.
Frequently Asked Questions (FAQs) about Gear Backlash Measurement
What is the standard acceptable level of gear backlash?
The acceptable level of backlash may vary depending on the application. Generally, a backlash of 0.002 to 0.006 inches is considered normal for high-precision applications.
Can gear backlash lead to mechanical failure?
Yes, excessive gear backlash can lead to mechanical failure over time, resulting in misalignment, increased wear, and ultimately equipment failure.
How often should you measure gear backlash?
Regular inspections based on equipment usage are recommended. For most systems, measuring gear backlash every 6 to 12 months should suffice.
Can gear backlash be completely eliminated?
While it’s challenging to eliminate backlash entirely, proper alignment, quality gears, and regular maintenance can significantly minimize it.
Conclusion
Effective gear backlash measurement is crucial for various industries reliant on mechanical systems.
Understanding how to measure it accurately and recognizing the factors that affect it can pave the way for improved performance and longevity of machinery.
By employing techniques such as using a dial indicator or feeler gauge, and addressing factors like gear quality and alignment, you can achieve optimal efficiency in your gears.
Regular monitoring and proactive adjustments or replacements will further enhance the smooth functionality of your machinery.
